
I am pretty sure (certain) it took me longer to edit the pictures and make this blog post than it took me to deconstruct and reconstruct the sweater with Wednesday calling at me every few minutes. You have to forgive the poor lighting, the sweater and the blouse were dark and the day was overcast but I tried to sharpen the pictures where I could.
This worked out well for me and I will most likely do this again in the future when I come across another sweater (I have two blouses dying to be deconstructed). I can never seem to get the layered look right, it always comes out frumpy and bumpy. So I thought I would try to cut out the frump and bump and this is what I came up with.
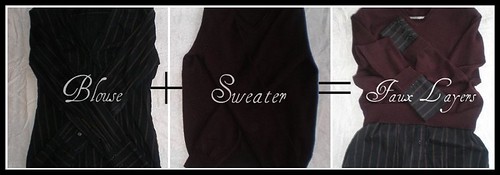
Faux Layered Sweater Tutorial
Materials:
1 sweater (this one is 85% merino wool, but I don't think it mattered as much as it being a smaller, closer knit.
1 blouse, or just the cuffs, collar and bottom of a blouse.
Pins and matching thread
Construction Instructions
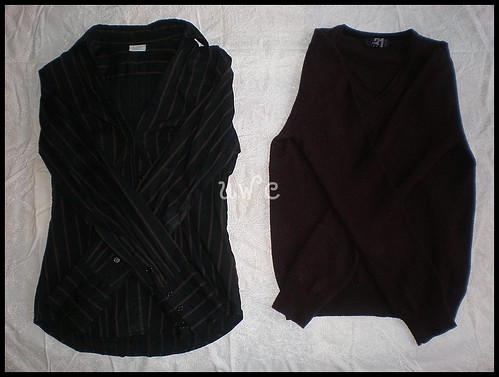
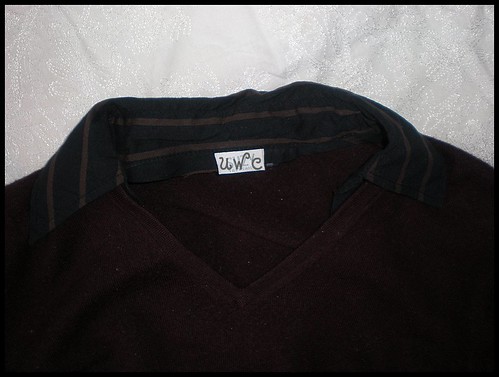
Choose your blouse and your sweater. I love love this sweater I bought at a charity shop for $1.50 but it would ride up just an inch too far and the blouse is a hand me down from a friend and so cute but it was a couple inches to short and the I didn't like that I could not button the collar. Sew perfect yes?
Lay your sweater on your blouse so you can get an idea of how far you want your cuffs, collar and bottom to stick out.
I cut the collar off first, to do this you just cut around the base of the neck so that the collar fits inside the collar of the sweater. It helps if there is already a crease in the collar to rest against the sweater so you can pin it in place where it would naturally sit.

Now cut the pieces about one inch from where they will begin to stick out from under the sweater.
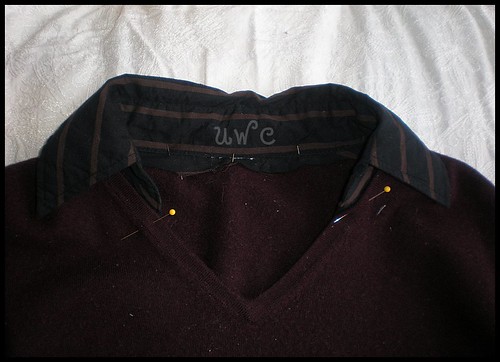
I pinned it in front first so that I could line up the sides evenly with the sweater collar.
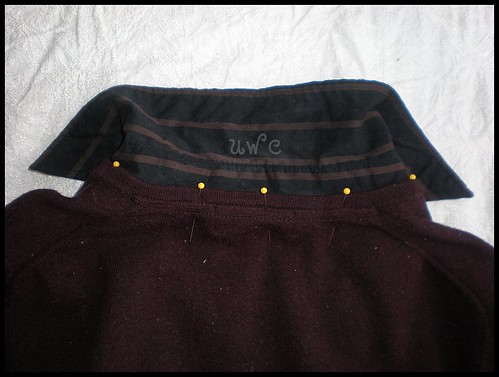
Once you have the collar where you want it, lift it up and pin away. (I like lots of pins but that could just be the novice sewer in me.)
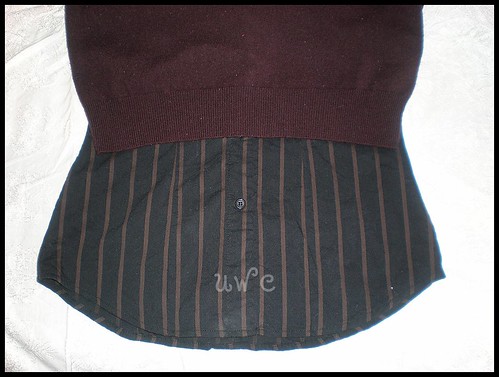
I forgot to take pictures of the bottom and cuffs pinned, but for that I just fit the blouse pieces inside the sweater and pinned. I wanted to do all of my sewing from the outside so that I could run along the cuff lines to hide my stitches. Like this:
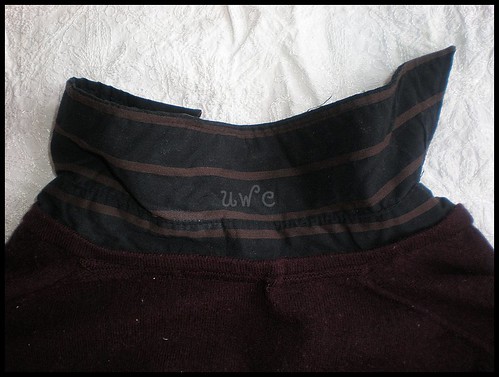
I did get a pucker, but that is the only one, I forgot to pull instead of push. It turned out pretty good though yes? Anyhoo, this picture was to show you that there is a sort of seam where the sweater collar meets the sweater? Sew along those lines and your stitches will be near invisible.
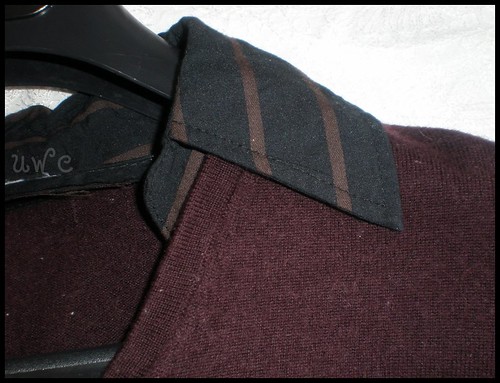
See? Near invisible stitching. Also, it helped that I made some matching thread kicking around, seriously not even sure where it came from but worked out awesome.
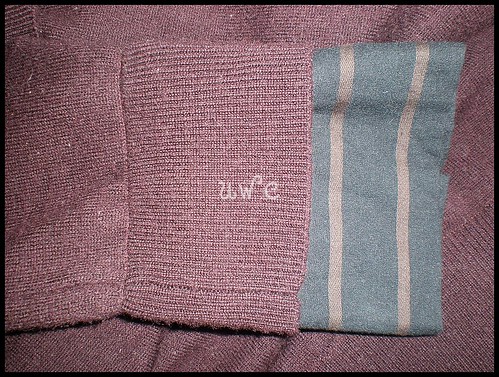
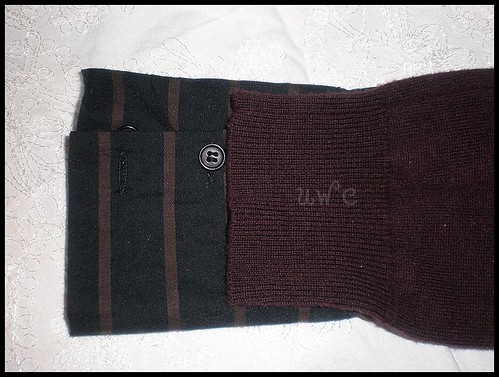
This was the only seam you could 'see'. It could be that I cam too picky, but I just fold the cuff back to show more blouse.

Voila!~ The finished product. Not bad for my first try yes? It is not perfect, but I have to say with the exception of one pucker it is nearly so. I can't decide if I like how it sits at my waist though.
Total project cost: $1.50 for the sweater I bought months ago. Pretty good eh?
I have no pictures of myself wearing it due to the gloomy days. As soon as we have some sunshine I will grab a pic of me wearing it to show as a follow up.
This will also be posted to Wardrobe Refashion after new pledges are accepted in February. (I made the pledge, but cannot officially join the fun until then.)I am currently enamored with this site/blog/concept and have been trying to think of ways to join the fun. This is my first attempt and I think it went well. I have few other ideas I will be sharing over the next little while that have to do with family cloth, mama cloth and cloth diapers. So stay tuned!~


